How a windscreen chip is repaired, step by step
A chip is repaired by pulling the air out of the break and filling it with resin, then hardening that resin with UV light and polishing the surface flat. Done properly it takes about 40 minutes, and you can drive off straight away.
The seven steps
This is a look at the job, not a do it yourself guide: the result depends on the vacuum and the curing, and those need the right tools. The photos are from one of my repairs. The bridge in them is an older one; today I use a Delta Kits bridge and injector, made in the USA.
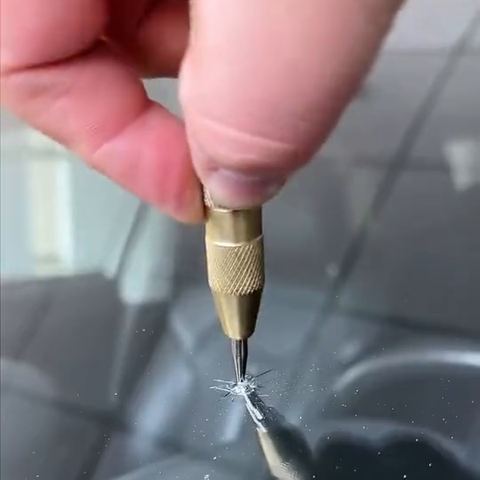
1. Check the chip and clean it out
I look at the chip in good light, pick any loose glass out of the impact point and clean around it, so nothing sits between the resin and the glass.
Used: Duobond Prep-Clean
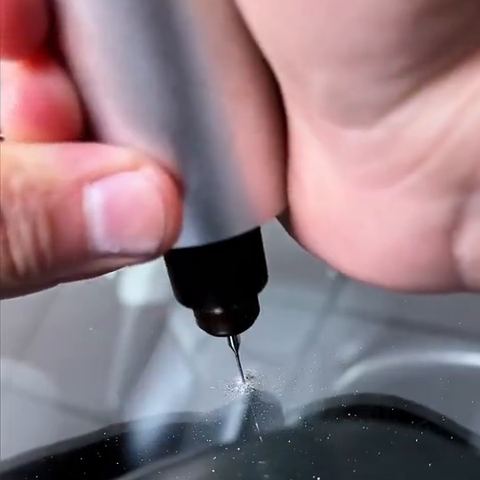
2. Open the impact point, only if it needs it
If the top of the chip has closed over, a fine drill opens a path into the break so the resin can get in. Many chips do not need this.
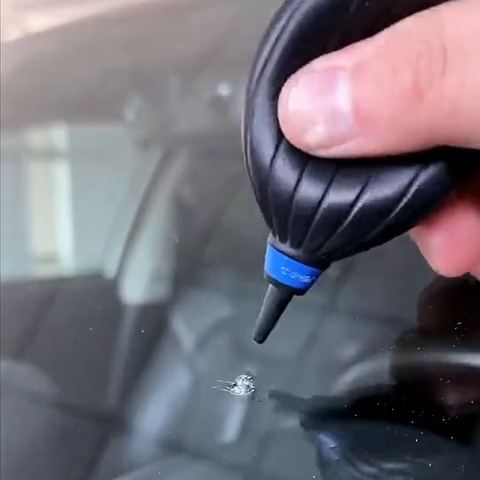
3. Blow out the dust and moisture
Dust and moisture in the legs of the break are what stop the resin reaching the end of them, so they come out before anything goes in.
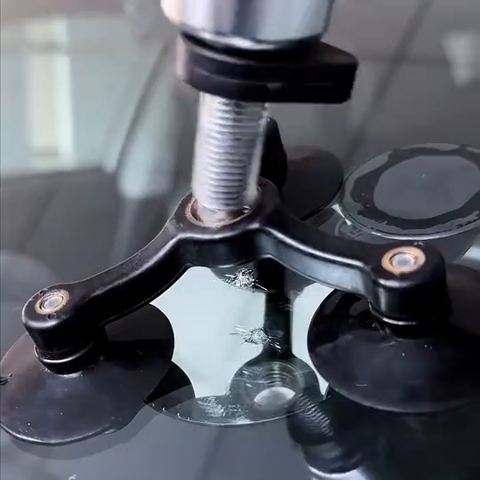
4. Vacuum, then resin under pressure
The bridge holds the injector square over the chip. First it pulls a vacuum to draw the air out of the break, then pressure pushes the resin to the end of every leg. Most of the repair time goes into this step.
Used: Duobond Impact-Filler resin, Delta Kits bridge and injector
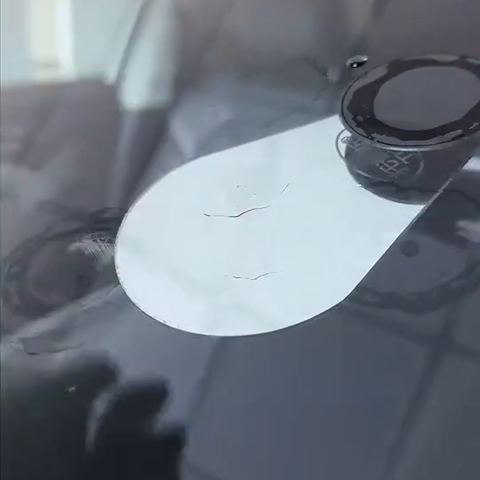
5. Cure the resin
A curing film goes over the filled chip and the resin is hardened with UV light.
Used: 365 nm UV lamp
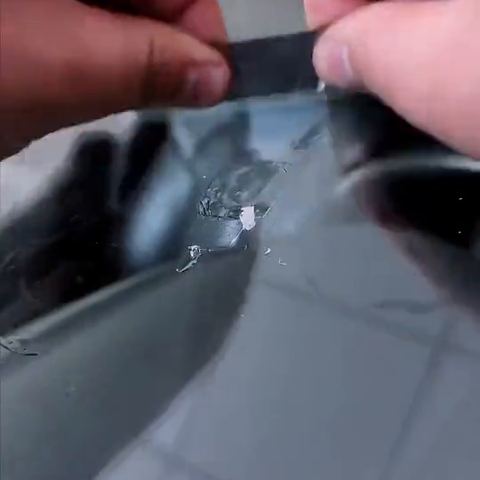
6. Fill the pit and scrape it flat
The small pit left on the surface gets a drop of finishing resin and another cure, then a blade scrapes it flat with the glass.
Used: Duobond UV-Resin
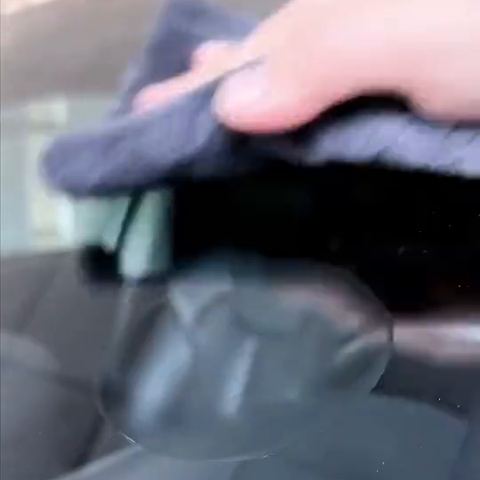
7. Polish and clean
The repaired spot is polished and the glass gets a clean. There is nothing left to set, so you can drive off straight away.
Used: Duobond Finishing Polish


Why the $13 kit is not the same
A supermarket kit is a syringe and some resin. It has no real vacuum, so the resin often fills the top of the chip and leaves air in the legs, and the chip can still show and still spread. If it goes wrong, the old resin and the air stay inside, and it is much harder to repair properly afterwards.
The full comparison is here: DIY windscreen chip kit vs professional repair.
Questions about the repair
Will the chip disappear completely?
Usually not. A repair fills the break and makes it far less likely to spread, but you will often still see a faint mark if you look for it.
Can I drive straight after?
Yes. The resin is cured with UV light during the repair, so there is nothing left to set.
Where do you do it?
Where the car is parked, at your home or your work.
Get the chip fixed before it spreads
Three taps and you have a fixed price, then book online.
Get my fixed price